Step-by-Step Process to Create Panoramas
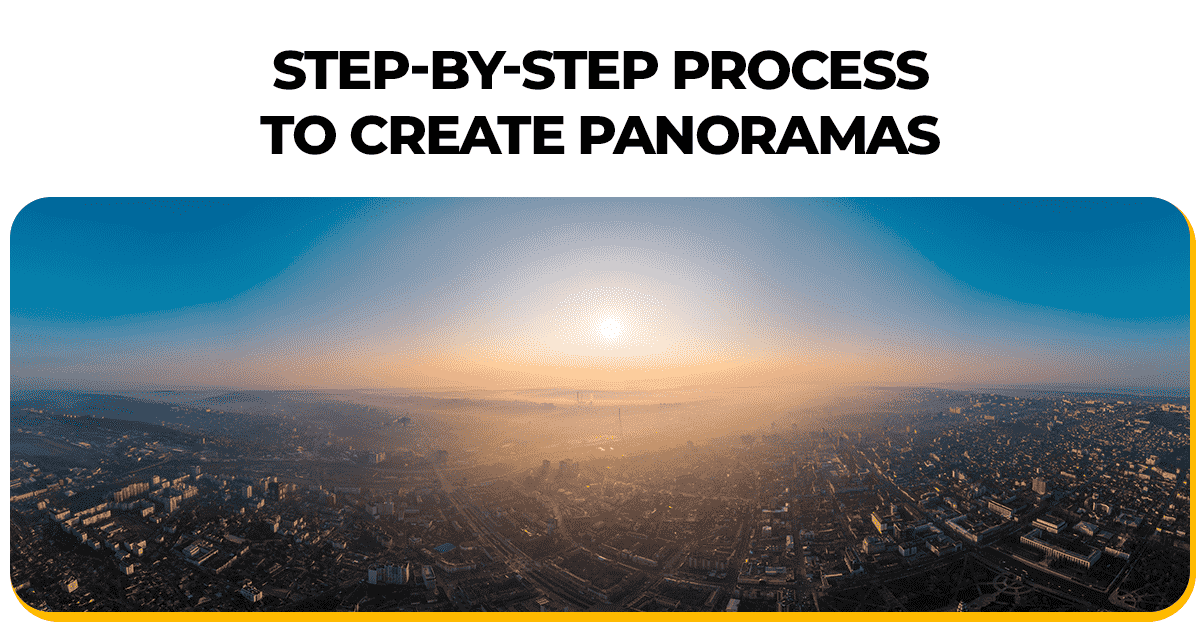
Step-by-Step Process to Create Panoramas
Haven’t we all felt that urge to capture an entire panorama — whether it's a sweeping mountain range, a glittering cityscape, or a blooming field after the rain — only to regret that our camera just couldn’t take it all in? That’s exactly where panorama photography comes in. But not everyone knows how to get those wide, seamless shots just right.
Panoramas work by stitching together multiple images to recreate the full view, just like your eyes perceive it. While it might sound complicated, capturing a stunning panorama is actually much easier than it seems.
With a few quick steps and the right equipment, you can shoot smooth panoramas. And if you need a little help, there are tools available online for turning your shots into breathtaking panoramas that will astound your followers or friends. Let's discuss the steps.
Step 1: Plan Your Shot
Before capturing your perfect view, take a moment to observe the entire scene that you want to capture. An ideal panorama begins with an ideal subject. So, look out for wide, open landscapes, whether it is a beach at dusk, rolling hills, or a city street.
Avoid scenes with too many moving objects, as motion can cause blurs or stitching errors later. Visualize your panorama by slowly sweeping across the scene with your eyes or camera. Decide on your start and end points — think of it like painting a canvas with your lens.
Also, pay attention to lighting. Gentle light is ideal to prevent unusual shadows or highlights.
Pro Tip: If you’re using a smartphone or a camera with a panorama mode and do not feel confident about the settings, consider shooting manually and later using a software to stitch the photos into a panorama.
Step 2: Set Up Your Camera
You don't require fancy equipment to create a panorama. The right settings can make a huge difference:
-
Use a Tripod: A tripod stabilizes your camera, so your shots are straight and in alignment, and if you don't have a tripod hold the phone very stable or put it on a stationary surface.
-
Lock Your Settings: Manually set your camera to keep exposure, focus, and white balance the same for every photo, as it will hinder your picture if the colour or brightness changes between photos.
-
Shoot in Portrait Mode: Position your camera vertically instead of sideways. This will help in getting a clear view and a better picture. This captures more of the height of the scene, so your panorama will be fuller-looking.
Step 3: Take Your Photos
- Overlap Your Shots: Shoot a sequence of images by moving your camera a little to the left and a little to the right to get the best angle.
Always, ensure that each image overlaps the next by roughly 30–50%. This provides the stitching software with sufficient matching details to stitch the images together flawlessly.
-
Move the camera slowly and smoothly: Slowly turn the camera if you are using a tripod. If handheld, turn your body from the hips without changing the height and angle of the camera. Think of yourself as a human tripod!
-
Capture the Scene: Continue shooting shot after shot until you have the whole scene you intended. For a broad panorama, you could take 5–10 photos, or more for a whole 360-degree panorama.
Step 4: Stitch Your Panorama
If you are clicking manual photos, it's now time to merge them into a single continuous picture. That's stitching, and that's where the magic occurs.
Alternative Tools: Use softwares such as Adobe Photoshop, Lightroom, or free applications like Hugin to join panoramas.
Step 5: Polish and Share
- Improve Colors: Brighten up a sunset or highlight greens in a forest.
- Sharpen Details: Highlight the texture of mountains or buildings in a city.
- Crop and Straighten: Remove any distorted edges and ensure that the horizon line is straight.
Once it’s perfect, save your panorama and share it! Whether you're posting on social media, printing it for your wall, or showcasing it in a professional portfolio, panoramas can leave a lasting impression. And with Foto Owl, organizing and sharing your best shots becomes effortless.
Bonus Tips for 2025
-
Play with 360-Degree Panoramas: For the thrill-seeker, shoot a complete circle and create an interactive 360-degree panorama.
-
Play with Angles: Don't stick to landscapes. Play with city panoramas, like a street in the city, or artistic ones, like a panorama of your cozy living room.
Why Panoramas Are Worth It
Creating a panorama is like telling a larger-than-life story through your images, capturing. the vastness of a desert landscape, the vibrancy of a festival, or the serenity of a lake setting.
With this step-by-step guide, you can create panoramas that not only grab people's attention but also capture those moments for life.
So, pick up your camera or smartphone, find that stunning view, and start shooting. And when it’s time to organize, relive, and share those wide, beautiful shots, let Foto Owl do the heavy lifting with AI-powered tagging and seamless photo organization.