How to Use Focus Points Effectively for Sharp Images
How to Use Focus Points Effectively for Sharp Images
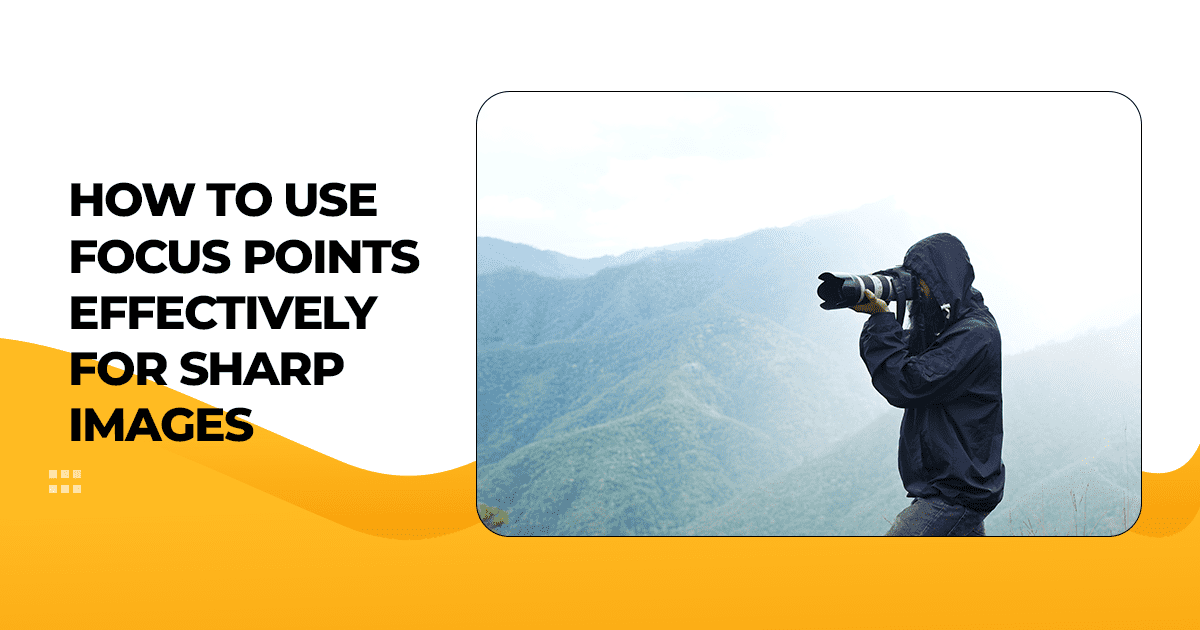
We all have those moments when we think we’ve taken the perfect shot, only to look at it later and find it all blurry – especially frustrating when we know we can’t recreate the moment.
Clicking sharp images is all about nailing focus, and that’s where the focus point comes in. It’s a small but powerful feature in your camera that tells it exactly where to sharpen the image.
Whether you're capturing a portrait, a landscape, or a quick photo of your pet, learning how to use focus points can significantly improve your photography. And if you're new and still building confidence, you can always rely on software and apps to help. These tools can refine your shots and enhance sharpness to bring your photos closer to perfection.
What’s a Focus Point?
It's a specific center or a point where your camera focuses and makes the subject sharp. You can find it in the viewfinder or on the screen of a DSLR or mirrorless. Also, you can see them as tiny squares or dots.
In smartphones, it's basically the same, where you tap the screen to select where you want to focus. The new cameras have dozens or even hundreds of focus points, where you have tons of control. The secret is about how to use them to get the sharpest picture for your scene.
Step 1: Familiarize Yourself with Your Camera's Focus Modes
Before you start clicking pictures and figuring things out on the go, it’s best to first get familiar with your camera’s focus modes.
- Single-Shot AF (AF-S or One-Shot): It is ideal for still subjects such as portraits or landscapes. The camera fixes focus once you depress the shutter halfway.
- Continuous AF (AF-C or Servo): This mode is ideal for moving subjects such as children, pets, or sports. The camera constantly makes adjustments in focus as your subject moves.
- Automatic AF (AF-A): The camera chooses whether to use single or continuous focus in the mode, helping you get the best shot. It's convenient for beginners but not as accurate.
- Manual Focus: You will have to operate the lens's focus ring yourself. This could be challenging in situations such as low lighting or macro photography.
On the contrary, smartphones typically have an auto mode, but screen tapping simulates single-shot focus. Reference your camera or phone manual to locate these modes. Understanding these will help you prepare and utilize focus points properly.
Step 2: Select the Proper Focus Point Mode
- Single Point: You select the focus point where you want precisely the image to be sharp. It is best for portraits (eyes) or small objects such as a flower.
- Zone/Group AF: In this mode the camera makes use of a small cluster of points, perfect for moving subjects such as a running dog or flying bird.
- Auto Area AF: The camera automatically selects focus points for you throughout the entire frame. This is fine for relaxed shots but might fall short if your subject is not clear.
Moreover, for most crisp photos, single-point AF provides you with the greatest control and will help you get the best shot. On a mirrorless or DSLR, use the arrow keys or the joystick to shift the focus point.
Step 3: Choose the Ideal Focus Point
- For Portraits: While taking a portrait always position a single point of focus on the subject's near eye. Clear eyes bring out a portrait, and a soft eye can destroy it. When using a shallow depth of field (such as f/2.8), this is particularly important for taking the crisp shot.
- For Landscapes: Move one focus point on an important detail, such as a tree or boulder, roughly one-third of the way into the image. This keeps the entire image sharp, particularly with a larger depth of field (such as f/8 or f/11).
- For Action Photographs: Change the camera zone or set it to continuous AF and set the focus points on your subject (such as a runner or vehicle). The camera will follow the movement, and it will remain sharp.
- For Smartphone Users: This is the easiest one. Just tap the screen on your subject. If your phone also has a portrait mode, it'll automatically prioritize faces or eyes.
Step 4: Lock and Shoot
- DSLR/Mirrorless: Only half-press the shutter. You'll hear a click or see the focus point light when it's locked. Then press fully to shoot after you are set with the view.
- Smartphone: Tap to focus, and the camera will normally lock it automatically on your selected area. A few phones allow you to hold a tap to lock focus (see your settings).
Bonus Tips for 2025
- Use Eye AF for Portraits: Numerous 2025 mirrorless cameras (such as the Sony A7 IV or Canon EOS R6) feature eye-detection AF, which automatically focuses on eyes. It's a total winner for portraits or pet shots.
- Practice in Low Light: Low light can fool focus points. Employ a single point and set your sights on high-contrast zones (such as a subject's edge).
- Smartphone Trick: If your phone supports manual focus (like some pro modes), slide the focus bar to fine-tune sharpness.
- Keep Your Lens Clean: A smudgy lens can make even perfect focus look soft. Wipe it with a microfiber cloth before shooting.
Why Focus Points Matter
Mastering focus points is similar to instructing your camera on precisely what to focus on. It's the distinction between a grainy snapshot and an amazing, clear photo that draws the eye. If you're photographing a child's grin, a mountain landscape, or a product for your small business, acing focus makes your photos pop.
So, grab your camera or phone, play with those focus points, and start snapping crisp photos. And when you’re ready to organize and share your best shots, let Foto Owl step in. With AI-powered face recognition and smart tagging, it helps you store, sort, and showcase your sharpest memories with ease.